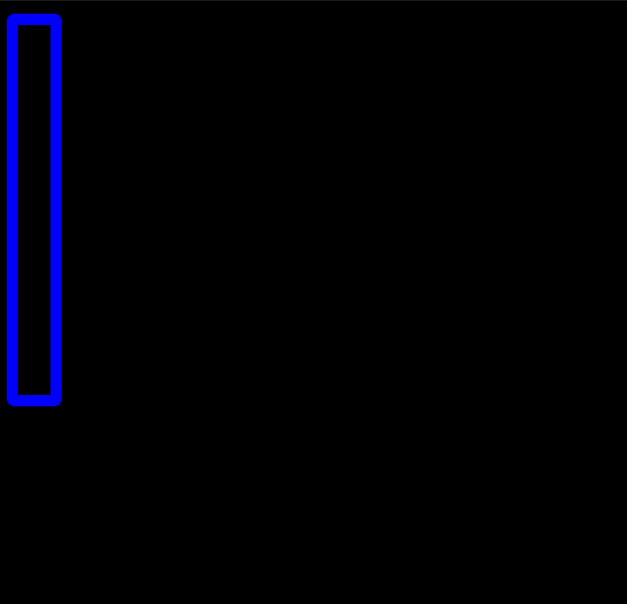
"""試用opencv創(chuàng)建畫(huà)布并顯示矩形框(適用于目標(biāo)檢測(cè)圖像可視化)
"""
# 創(chuàng)建一個(gè)黑色的畫(huà)布,圖像格式(BGR)
img = np.zeros((512, 512, 3), np.uint8)# 畫(huà)一個(gè)矩形:給定左上角和右下角坐標(biāo)(寬度,高度)---> pt1=(15, 15), pt2=(50, 320)
cv2.rectangle(img, pt1=(15, 15), pt2=(50, 320), color=(255, 0, 0), thickness=8)# 可視化
cv2.imshow('image', img)cv2.waitKey(0)
# 釋放資源
cv2.destroyWindows('image')
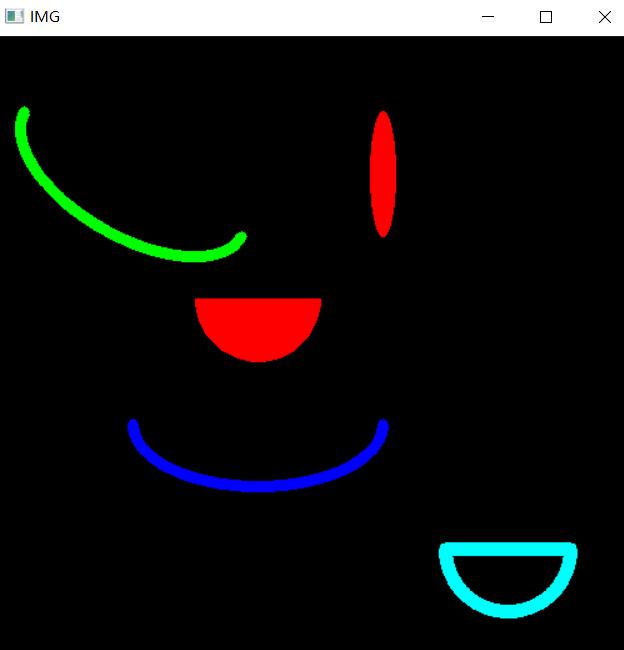
""" 試用opencv創(chuàng)建畫(huà)布并顯示圓形內(nèi)容
"""
# 創(chuàng)建一個(gè)黑色的畫(huà)布
img0 = np.zeros((512,512,3), np.uint8)# 設(shè)置圓的參數(shù),進(jìn)行畫(huà)圓 參數(shù)定義: 給定橢圓的圓心�����、軸長(zhǎng)����、偏移的角度�、以及橢圓的角度信息
cv2.ellipse(img0, center=(210, 310), color=(255, 0, 0), axes=(100, 50), angle=0, startAngle=0, endAngle=180, thickness=8)
cv2.ellipse(img0, center=(110, 110), color=(0, 255, 0), axes=(100, 50), angle=30, startAngle=0, endAngle=180, thickness=8)
cv2.ellipse(img0, center=(310, 110), color=(0, 0, 255), axes=(10, 50), angle=0, startAngle=0, endAngle=360, thickness=-1)
cv2.ellipse(img0, center=(210, 210), color=(0, 0, 255), axes=(50, 50), angle=0, startAngle=0, endAngle=180, thickness=-1)
cv2.ellipse(img0, center=(410, 410), color=(255, 255, 0), axes=(50, 50), angle=0, startAngle=0, endAngle=180, thickness=10)
cv2.rectangle(img0, pt1=(360, 410), pt2=(460, 410), color=(255, 255, 0), thickness=10)# 可視化
cv2.imshow('IMG', img0)cv2.waitKey(0)# 釋放資源
cv2.destroyWindow('IMG')
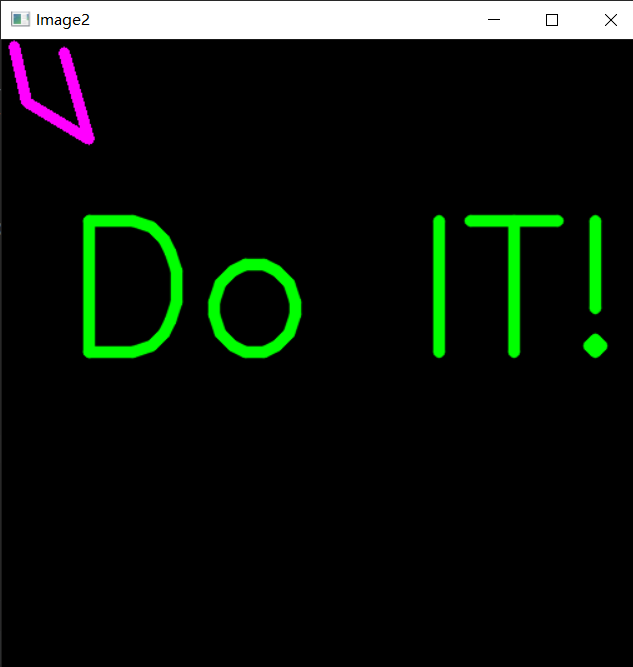
"""試用opencv創(chuàng)建畫(huà)布并顯示多邊型
"""
# 創(chuàng)建一個(gè)黑色的畫(huà)布
img2 = np.zeros((512, 512, 3), np.uint8)# 畫(huà)多邊形
pts = np.array([[10,5],[20,50],[70,80],[50,10],
], np.int32)
print('the shape of pts:', pts.shape)
pts = pts.reshape((-1,1,2))
print('the reshape of pts:', pts.shape)
cv2.polylines(img2, [pts], isClosed=False, color=(255, 0, 255), thickness=8, lineType=cv2.LINE_4)# 添加文本
font = cv2.FONT_HERSHEY_SIMPLEX
cv2.putText(img2, text='Do IT!', org=(50,250), fontFace=font, fontScale=5, color=(0, 255, 0), thickness=8, lineType=cv2.LINE_AA)
# 可視化
cv2.imshow('Image2', img2)
cv2.waitKey(0)
cv2.destroyWindow('Image2')